
3 Pro Lacing Tips Every Runner Needs To Know
“Lacing techniques… can change the feel of the shoe completely.”
Shoe expert Reece Taylor shares his top lacing tips on how to customise the fit of your running shoes to keep your feet running happy for the long haul.
No two feet are the same and size is not the only factor that makes your feet unique. Broad or narrow feet, high or low arches all influence how well your foot sits inside your shoe - and it's important to ensure your shoes work for you.
Even within a brand’s range, the structure of running shoe models can vary. Knowing how to lace your running shoes correctly and master the runner's lock lace can make the difference between dealing with discomfort from pressure points and blisters, to having a smooth and stress-free ride.
Catch Reece’s tips and our summary below.
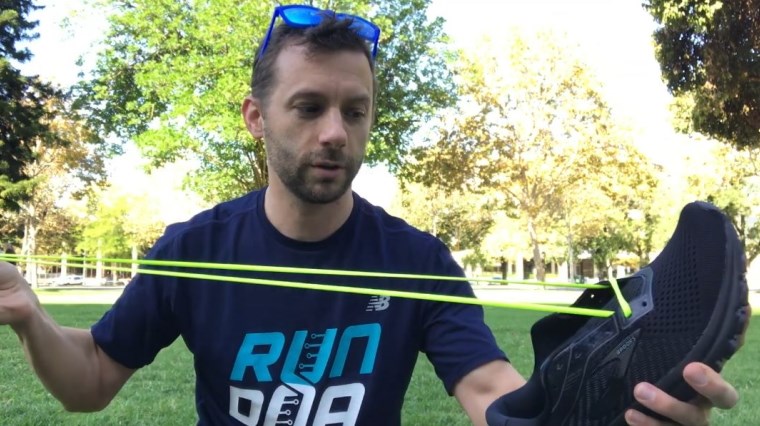
1. How to create more space in the forefoot
Some runners prefer or require a roomier feel in the forefoot than the lacing standard – but this is an easy fix. This lacing tip increases your freedom in the forefoot, creating a more ‘open’ feel to accommodate robust foot types and prevent the shoe from constricting your toes from above while you run.
Method:
Unlace your entire running shoe. Instead of beginning the lacing system from the first row of eyelets as is the norm, thread the laces starting from the second row of eyelets.
To ensure the laces remain even on either side, join the ends of the laces together before pulling tight. Then lace up your running shoe up as you would normally, from one side to the other.
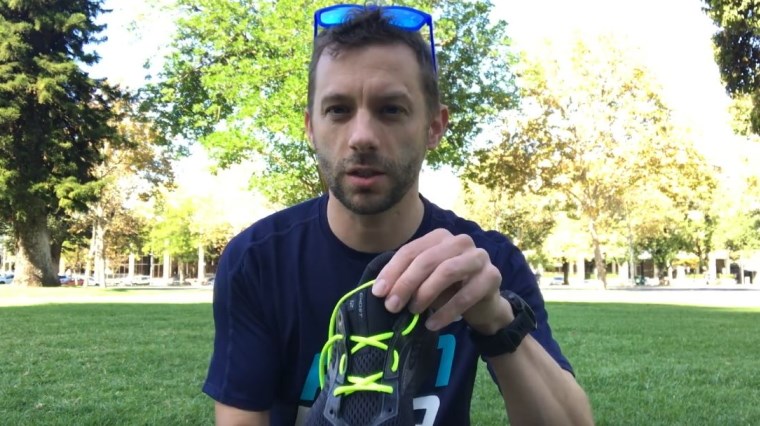
2. How to decrease pressure on top of your foot
If you have high arched feet, you may experience pressure through the tongue or on top of the foot resulting in discomfort and irritation. Creating a ‘lacing window’ can relieve pressure to the targeted area without compromise to the fit and tension of the midfoot.
Method:
Instead of threading the laces horizontally between the left and right eyelet over the point of pressure, thread the laces vertically between the lower eyelet to the next eyelet above on the same side.
Repeat on both sides to form an even lacing window, then criss-cross the laces from one side to the other as you would normally, progressing up the shoe.
3. How to create a secure heel lockdown
Heel slippage can seriously distract your focus when you’re clocking up the Ks. In mild cases this is an annoyance but in severe cases it can cause friction and rubbing, resulting in blisters. Ideally your running shoe and foot should move in harmony as one – so you don’t even have to think about your shoes when you’re pushing for more speed or mileage.
Running shoes feature an extra row of eyelets set back and down at a different angle from the main lacing system. This additional pair of eyelets is often forgotten and yet is ultra-effective in increasing tension for an improved fit of the rearfoot.
You can extend the criss-cross method of lacing into these final eyelets to gain a firmer fit, but for some runners this may not provide enough support.
Step in the runner’s lock lacing system, also known has the heel lock, lace lock or racer’s loop. When used properly, it increases tension of the tongue and allows the heel counter to hold more securely to your foot, like a seatbelt.
This lacing technique is recommended for all runners, but particularly if you wear an orthotic. Orthotics prop your heel up higher in the shoe, making additional support from the heel counter necessary to lock in the fit.
Method:
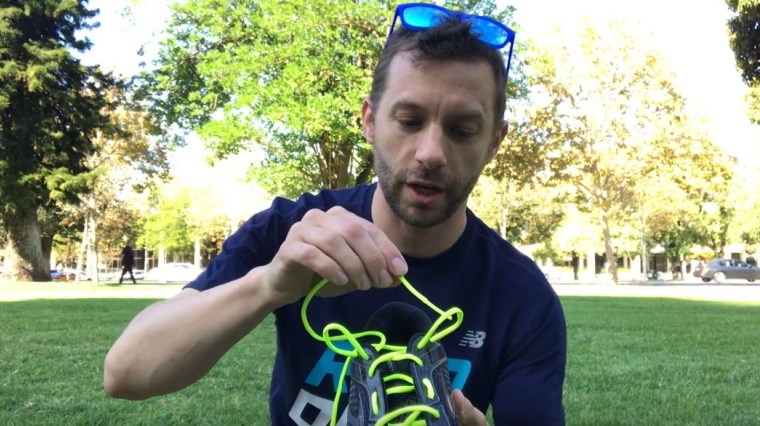
Lace up your running shoes as per normal, criss-crossing between either side until you reach the additional eyelets. Thread the lace into the extra eyelet on the same side of the shoe from the outside in to create a loop or ‘rabbit ear’. Repeat this technique on both sides of the lacing system.
Cross over the excess lace and thread into the opposite loop. Pull the lacing tightly up and then down as necessary to create a firm tension simultaneously on both sides, then tie laces per normal.
Quick lacing rules
- Ensure there is even tension on each row of lacing securing the top of your midfoot to maintain a firm yet comfortable fit. Remember that your feet naturally expand as you run so excessively tight lacing may cause discomfort down the road.
- Before tying up the lacing tight, tap the heel of your shoe into the ground to push your heel back into the rear of the shoe. Particularly with a new running shoe, this will improve both the rearfoot fit and allow you to get a secure lockdown of the midfoot.
- The ‘lacing window’ can be positioned anywhere. Choose the eyelets you need to skip criss-crossing the laces between based on where on the top of the foot you are experiencing pressure.
- Always do a double knot to reduce the risk of your running shoe laces coming undone and creating a trip hazard.
- These lacing tips can be combined as needed to achieve your perfect fit.
Subscribe to our YouTube channel so you never miss out on the latest RunTV episodes, shoe reviews and other practicals tips for runners.
Happy running!